
如需转载,请根据 知识共享署名-非商业性使用-相同方式共享 4.0 国际许可协议 许可,附上本文作者及链接。
本文作者: 执笔成念
作者昵称: zbcn
本文链接: https://1363653611.github.io/zbcn.github.io/2021/01/13/springcloud-13springboot%20Admin%E5%BE%AE%E6%9C%8D%E5%8A%A1%E7%9B%91%E6%8E%A7/
Spring Boot Admin:微服务应用监控
Spring Boot Admin 可以对SpringBoot应用的各项指标进行监控,可以作为微服务架构中的监控中心来使用,本文将对其用法进行详细介绍。
Spring Boot Admin 简介
SpringBoot应用可以通过Actuator来暴露应用运行过程中的各项指标,Spring Boot Admin通过这些指标来监控SpringBoot应用,然后通过图形化界面呈现出来。Spring Boot Admin不仅可以监控单体应用,还可以和Spring Cloud的注册中心相结合来监控微服务应用。
Spring Boot Admin 可以提供应用的以下监控信息:
- 监控应用运行过程中的概览信息;
- 度量指标信息,比如JVM、Tomcat及进程信息;
- 环境变量信息,比如系统属性、系统环境变量以及应用配置信息;
- 查看所有创建的Bean信息;
- 查看应用中的所有配置信息;
- 查看应用运行日志信息;
- 查看JVM信息;
- 查看可以访问的Web端点;
- 查看HTTP跟踪信息。
创建admin-server模块
这里我们创建一个admin-server模块来作为监控中心演示其功能。
- 在pom.xml中添加相关依赖:
1 | <dependency> |
2 | <groupId>org.springframework.boot</groupId> |
3 | <artifactId>spring-boot-starter-web</artifactId> |
4 | </dependency> |
5 | <dependency> |
6 | <groupId>de.codecentric</groupId> |
7 | <artifactId>spring-boot-admin-starter-server</artifactId> |
8 | </dependency> |
- 在启动类上添加@EnableAdminServer来启用admin-server功能:
1 | |
2 | |
3 | public class AdminServerApplication { |
4 | |
5 | public static void main(String[] args) { |
6 | SpringApplication.run(AdminServerApplication.class, args); |
7 | } |
8 | |
9 | } |
创建admin-client模块
这里我们创建一个admin-client模块作为客户端注册到admin-server。
- 在pom.xml中添加相关依赖:
1 | <dependency> |
2 | <groupId>org.springframework.boot</groupId> |
3 | <artifactId>spring-boot-starter-web</artifactId> |
4 | </dependency> |
5 | <dependency> |
6 | <groupId>de.codecentric</groupId> |
7 | <artifactId>spring-boot-admin-starter-client</artifactId> |
8 | </dependency> |
- 在application.yml中进行配置:
1 | server: |
2 | port: 9305 |
3 | spring: |
4 | application: |
5 | name: admin-client |
6 | profiles: |
7 | active: dev |
8 | |
9 | boot: |
10 | admin: |
11 | client: |
12 | url: http://localhost:9301 #配置admin-server地址 |
13 | |
14 | management: |
15 | endpoints: |
16 | web: |
17 | exposure: |
18 | include: '*' |
19 | endpoint: |
20 | health: |
21 | show-details: always |
22 | |
23 | logging: |
24 | file: |
25 | name: admin-client.log #添加开启admin的日志监控 |
- 启动admin-server和admin-client服务。
监控信息演示
- 访问如下地址打开Spring Boot Admin的主页:http://localhost:9301
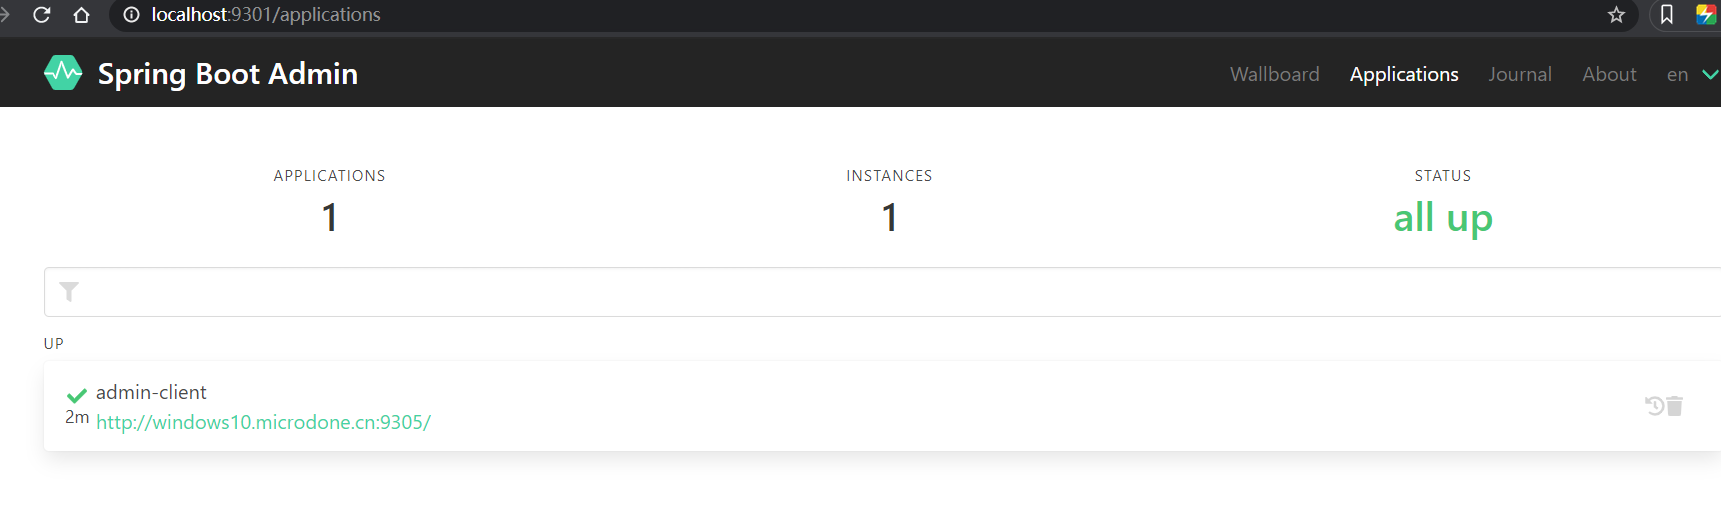
- 点击wallboard按钮,选择admin-client查看监控信息;
- 监控信息概览;
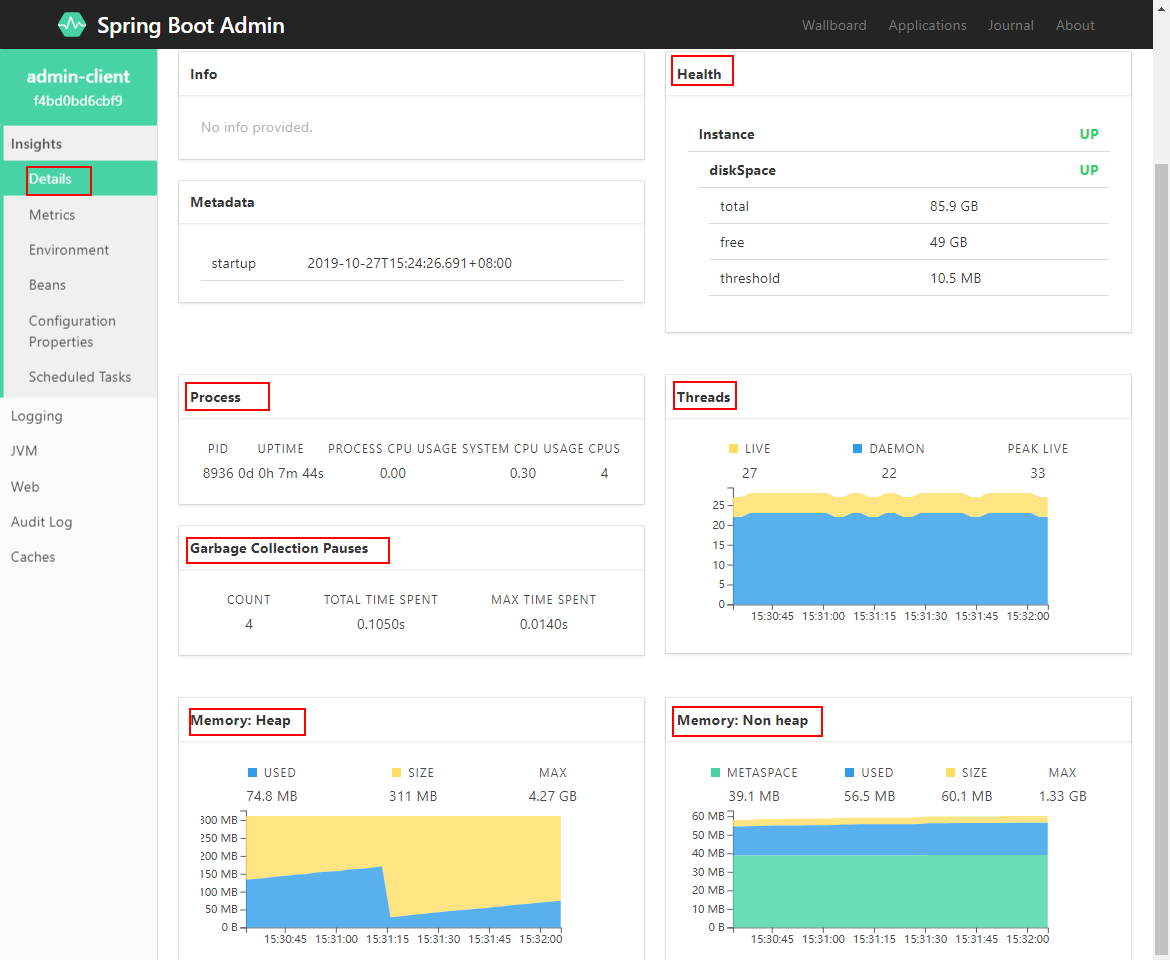
- 度量指标信息,比如JVM、Tomcat及进程信息;

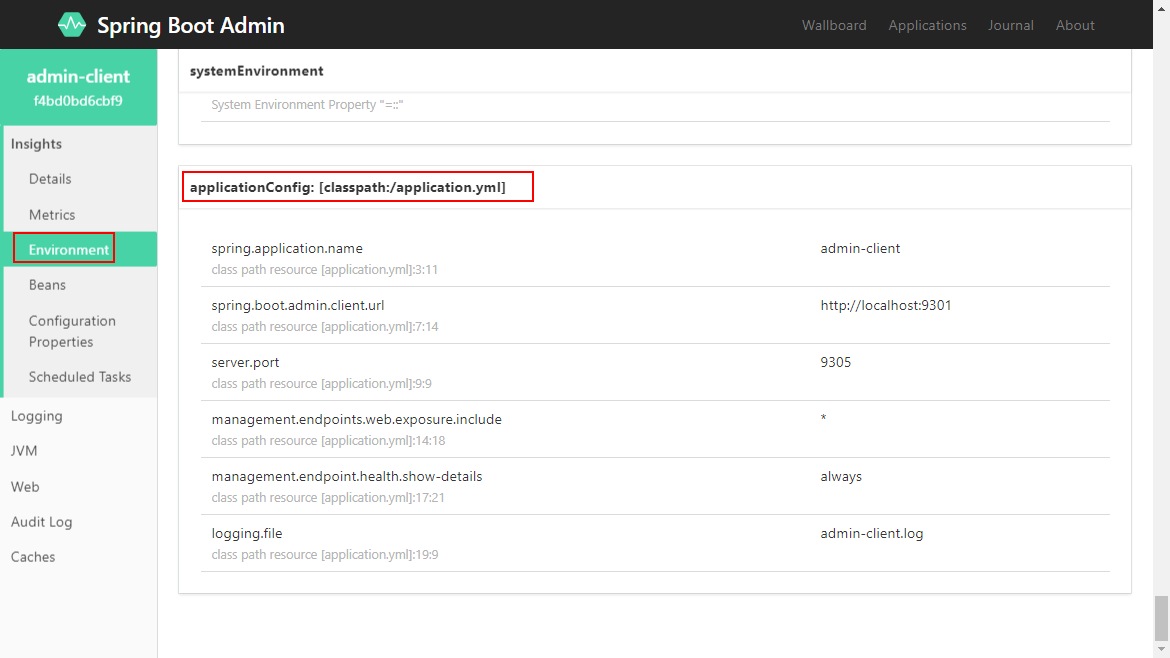
- 环境变量信息,比如系统属性、系统环境变量以及应用配置信息;
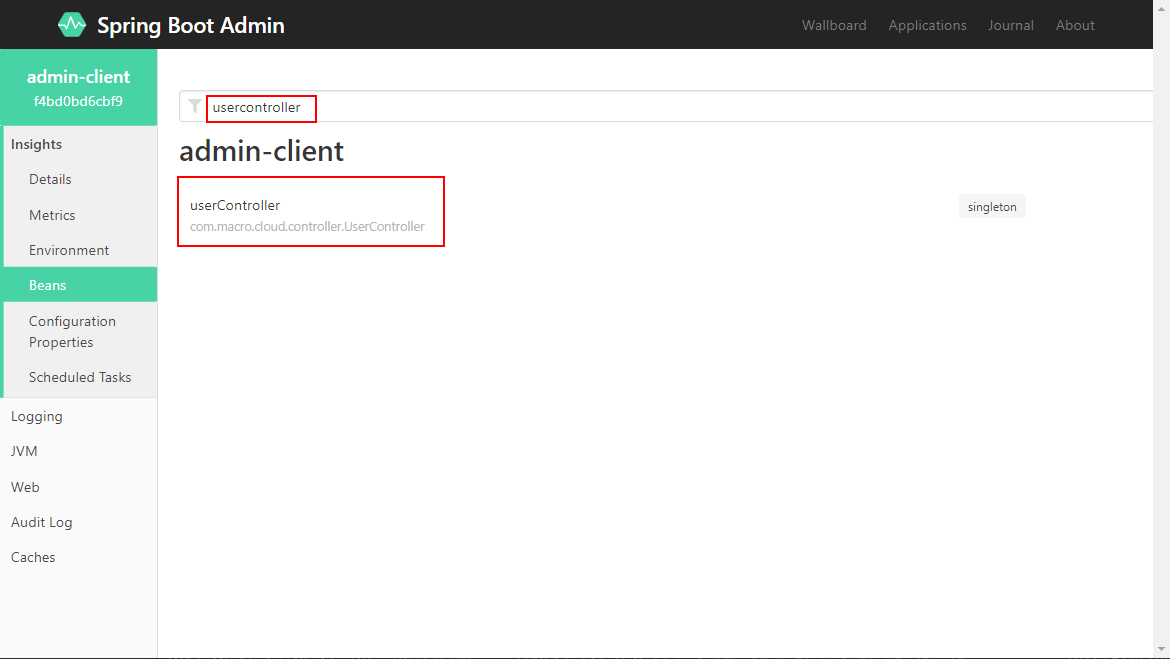
- 查看所有创建的Bean信息;
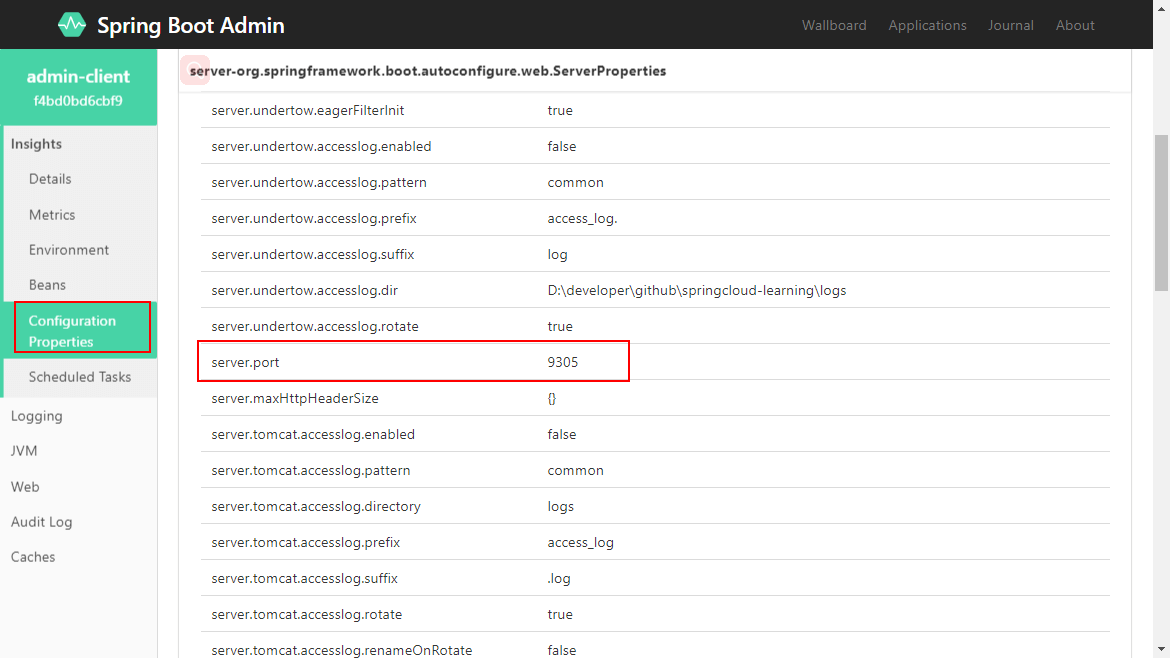
- 查看应用中的所有配置信息;
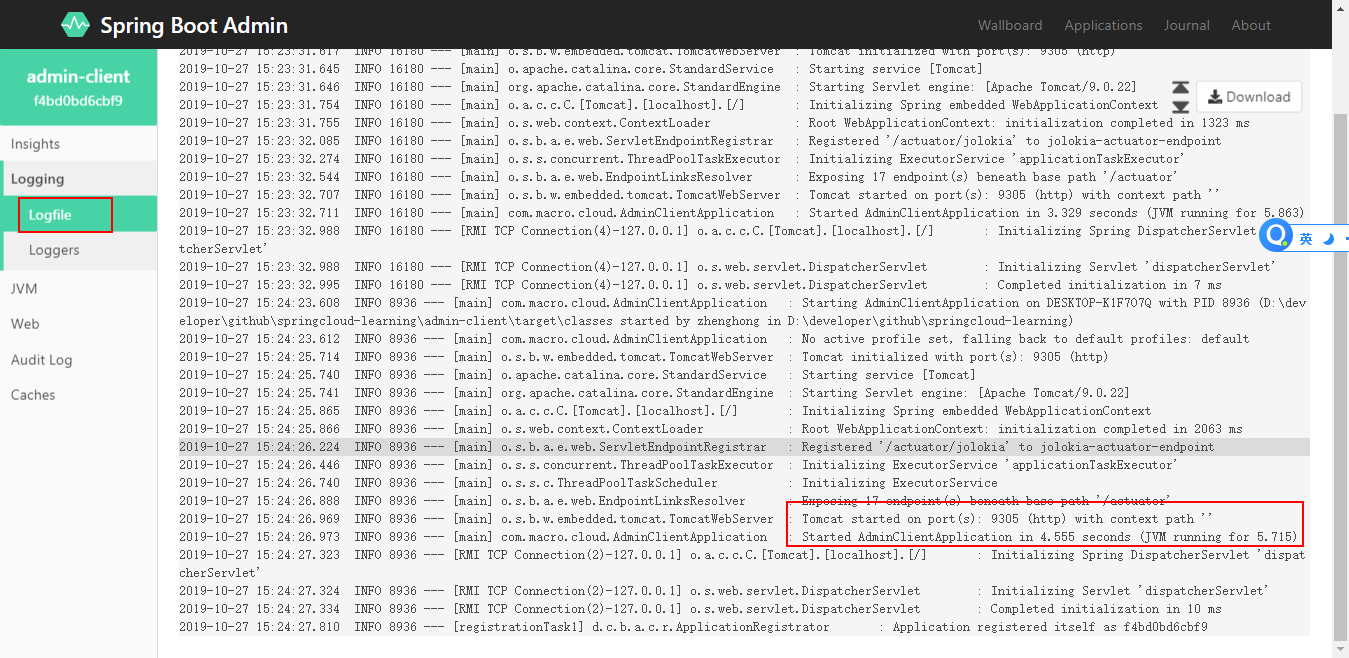
- 查看日志信息,需要添加以下配置才能开启;
1 | logging: |
2 | file: admin-client.log #添加开启admin的日志监控 |
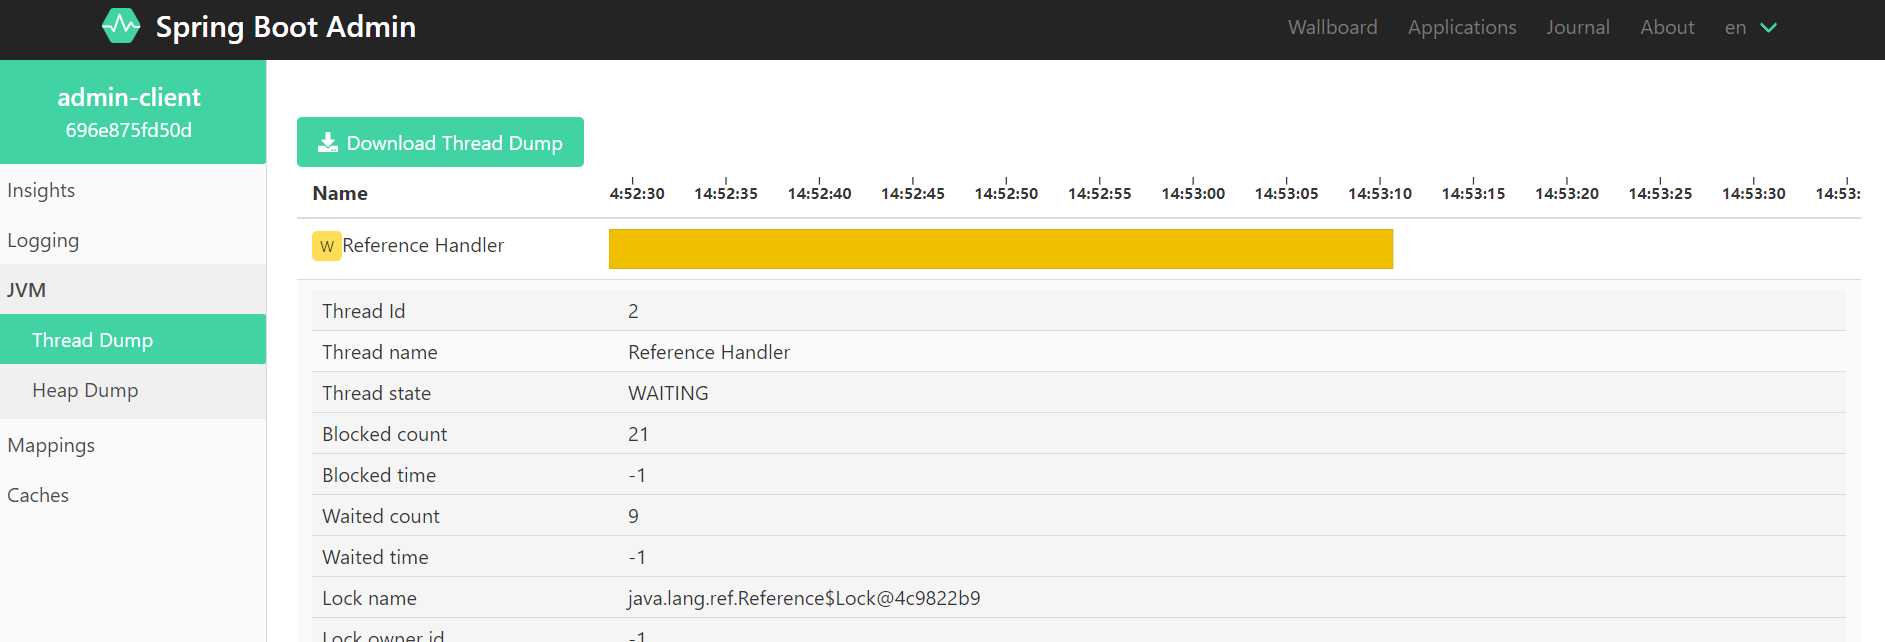
- 查看JVM信息;
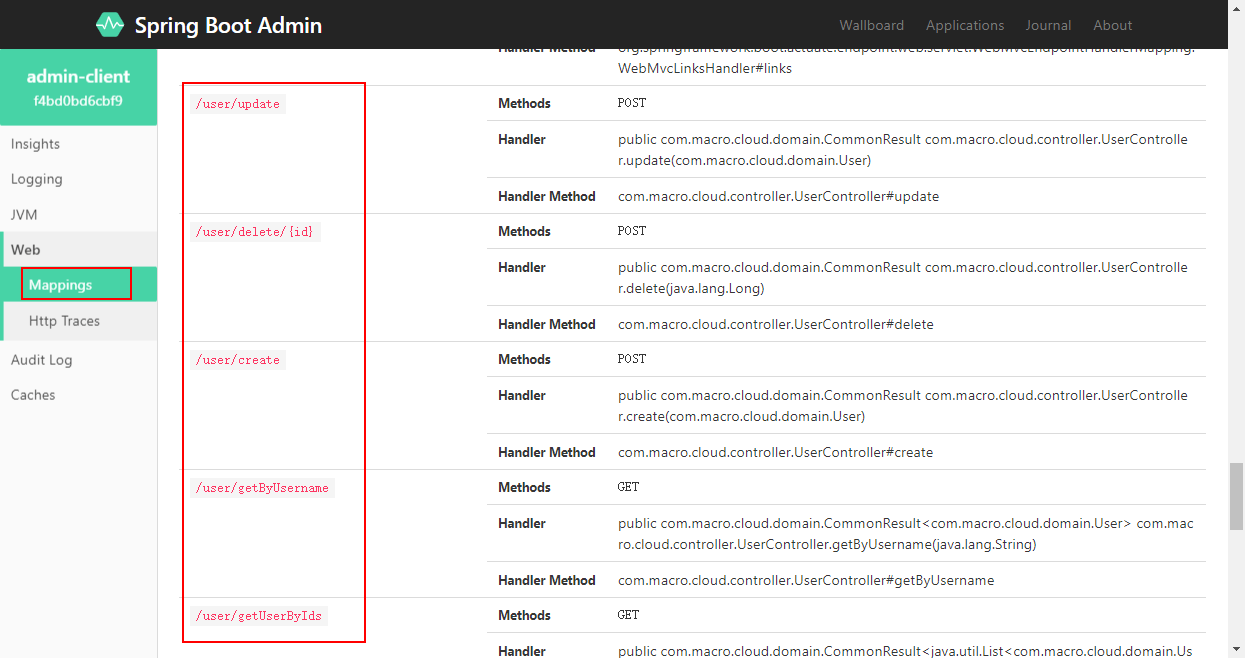
- 查看可以访问的Web端点;
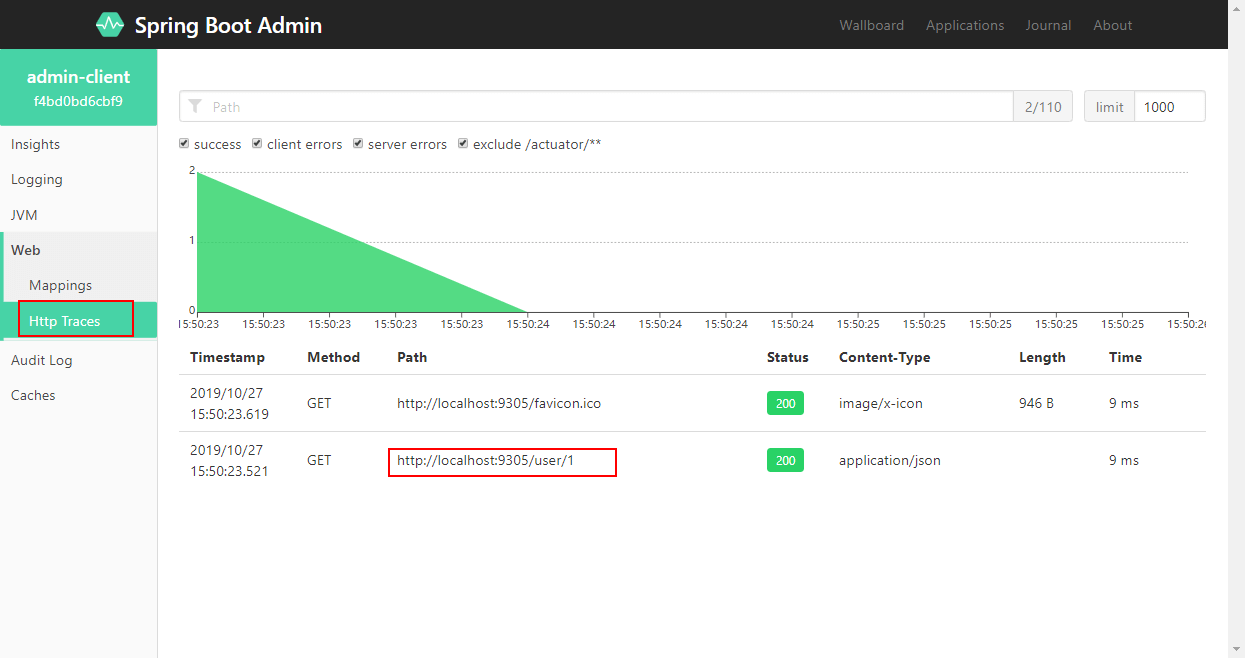
- 查看HTTP跟踪信息;
结合注册中心使用
Spring Boot Admin结合Spring Cloud 注册中心使用,只需将admin-server和注册中心整合即可,admin-server 会自动从注册中心获取服务列表,然后挨个获取监控信息。这里以Eureka注册中心为例来介绍下该功能。
修改admin-server
- 在pom.xml中添加相关依赖:
1 | <dependency> |
2 | <groupId>org.springframework.cloud</groupId> |
3 | <artifactId>spring-cloud-starter-netflix-eureka-client</artifactId> |
4 | </dependency> |
- 在application-eureka.yml中进行配置,只需添加注册中心配置即可:
1 | spring: |
2 | application: |
3 | name: admin-server |
4 | server: |
5 | port: 9301 |
6 | eureka: |
7 | client: |
8 | register-with-eureka: true |
9 | fetch-registry: true |
10 | service-url: |
11 | defaultZone: http://localhost:8000/eureka/ |
- 在启动类上添加@EnableDiscoveryClient来启用服务注册功能:
1 | |
2 | |
3 | |
4 | public class AdminServerApplication { |
5 | |
6 | public static void main(String[] args) { |
7 | SpringApplication.run(AdminServerApplication.class, args); |
8 | } |
9 | |
10 | } |
修改admin-client
- 在pom.xml中添加相关依赖:
1 | <dependency> |
2 | <groupId>org.springframework.cloud</groupId> |
3 | <artifactId>spring-cloud-starter-netflix-eureka-client</artifactId> |
4 | </dependency> |
- 在application-dev.yml中进行配置,删除原来的admin-server地址配置,添加注册中心配置即可:
1 | server: |
2 | port: 9305 |
3 | spring: |
4 | application: |
5 | name: admin-client |
6 | profiles: |
7 | active: dev |
8 | |
9 | management: |
10 | endpoints: |
11 | web: |
12 | exposure: |
13 | include: '*' |
14 | endpoint: |
15 | health: |
16 | show-details: always |
17 | |
18 | logging: |
19 | file: |
20 | name: admin-client.log #添加开启admin的日志监控 |
21 | |
22 | eureka: |
23 | client: |
24 | register-with-eureka: true |
25 | fetch-registry: true |
26 | service-url: |
27 | defaultZone: http://localhost:8000/eureka/ |
- 在启动类上添加@EnableDiscoveryClient来启用服务注册功能:
1 | |
2 | |
3 | public class AdminClientApplication { |
4 | |
5 | public static void main(String[] args) { |
6 | SpringApplication.run(AdminClientApplication.class, args); |
7 | } |
8 | |
9 | } |
演示功能
- 启动eureka-server,使用application-eureka.yml配置启动admin-server,admin-client;
启动项设置
1 | --spring.config.location=classpath:application-eureka.yml |
查看注册中心发现服务均已注册:http://localhost:8000/

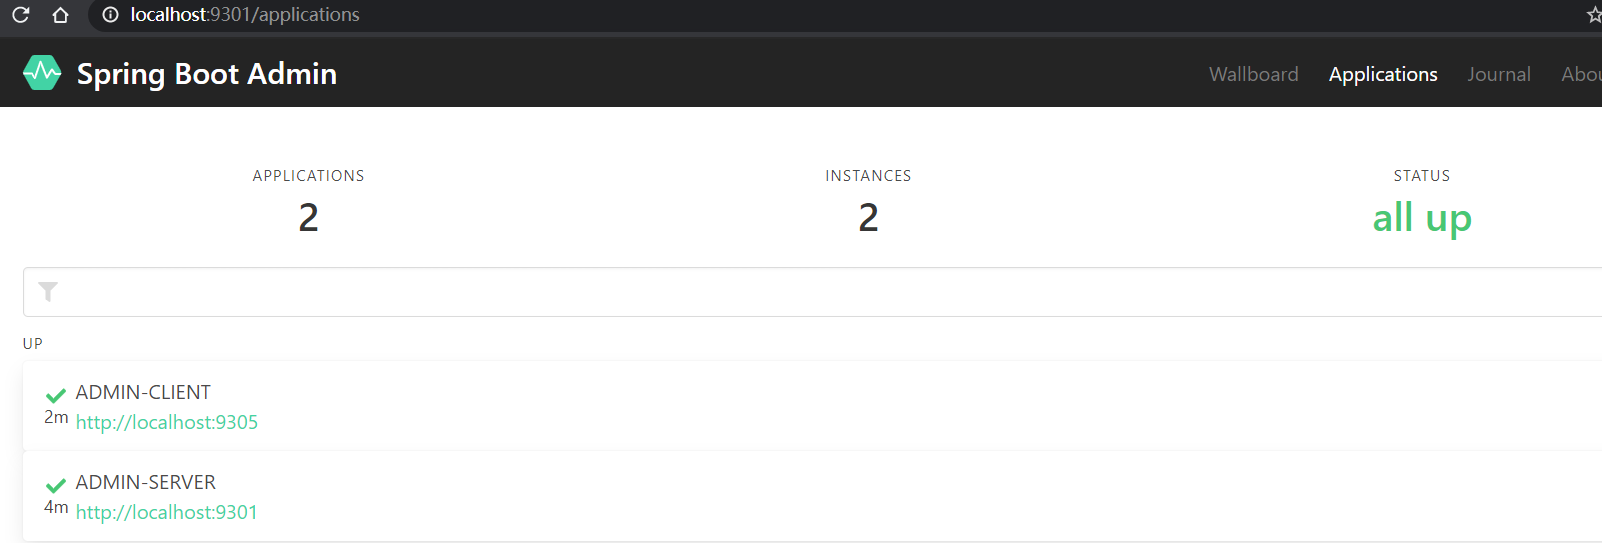
查看Spring Boot Admin 主页发现可以看到服务信息:http://localhost:9301
添加登录认证
- 我们可以通过给admin-server添加Spring Security支持来获得登录认证功能。
创建admin-security-server模块
- 在pom.xml中添加相关依赖:
1 | <dependency> |
2 | <groupId>org.springframework.cloud</groupId> |
3 | <artifactId>spring-cloud-starter-netflix-eureka-client</artifactId> |
4 | </dependency> |
5 | <dependency> |
6 | <groupId>de.codecentric</groupId> |
7 | <artifactId>spring-boot-admin-starter-server</artifactId> |
8 | <version>2.3.6</version> |
9 | </dependency> |
10 | <dependency> |
11 | <groupId>org.springframework.boot</groupId> |
12 | <artifactId>spring-boot-starter-security</artifactId> |
13 | </dependency> |
14 | <dependency> |
15 | <groupId>org.springframework.boot</groupId> |
16 | <artifactId>spring-boot-starter-web</artifactId> |
17 | </dependency> |
- 在application.yml中进行配置,配置登录用户名和密码,忽略admin-security-server的监控信息:
1 | spring: |
2 | application: |
3 | name: admin-security-server |
4 | security: # 配置登录用户名和密码 |
5 | user: |
6 | name: zbcn |
7 | password: 123456 |
8 | boot: # 不显示admin-security-server的监控信息 |
9 | admin: |
10 | discovery: |
11 | ignored-services: ${spring.application.name} |
12 | server: |
13 | port: 9301 |
14 | eureka: |
15 | client: |
16 | register-with-eureka: true |
17 | fetch-registry: true |
18 | service-url: |
19 | defaultZone: http://localhost:8001/eureka/ |
- 对SpringSecurity进行配置,以便admin-client可以注册:
1 | |
2 | public class SecuritySecureConfig extends WebSecurityConfigurerAdapter { |
3 | private final String adminContextPath; |
4 | |
5 | public SecuritySecureConfig(AdminServerProperties adminServerProperties) { |
6 | this.adminContextPath = adminServerProperties.getContextPath(); |
7 | } |
8 | |
9 | |
10 | protected void configure(HttpSecurity http) throws Exception { |
11 | SavedRequestAwareAuthenticationSuccessHandler successHandler = new SavedRequestAwareAuthenticationSuccessHandler(); |
12 | successHandler.setTargetUrlParameter("redirectTo"); |
13 | successHandler.setDefaultTargetUrl(adminContextPath + "/"); |
14 | |
15 | http.authorizeRequests() |
16 | //1.配置所有静态资源和登录页可以公开访问 |
17 | .antMatchers(adminContextPath + "/assets/**").permitAll() |
18 | .antMatchers(adminContextPath + "/login").permitAll() |
19 | .anyRequest().authenticated() |
20 | .and() |
21 | //2.配置登录和登出路径 |
22 | .formLogin().loginPage(adminContextPath + "/login").successHandler(successHandler).and() |
23 | .logout().logoutUrl(adminContextPath + "/logout").and() |
24 | //3.开启http basic支持,admin-client注册时需要使用 |
25 | .httpBasic().and() |
26 | .csrf() |
27 | //4.开启基于cookie的csrf保护 |
28 | .csrfTokenRepository(CookieCsrfTokenRepository.withHttpOnlyFalse()) |
29 | //5.忽略这些路径的csrf保护以便admin-client注册 |
30 | .ignoringAntMatchers( |
31 | adminContextPath + "/instances", |
32 | adminContextPath + "/actuator/**" |
33 | ); |
34 | } |
35 | } |
- 修改启动类,开启AdminServer及注册发现功能:
1 | |
2 | |
3 | |
4 | public class AdminSecurityServerApplication { |
5 | |
6 | public static void main(String[] args) { |
7 | SpringApplication.run(AdminSecurityServerApplication.class, args); |
8 | } |
9 | } |
- 启动eureka-server,admin-security-server,admiin-client 访问Spring Boot Admin 主页发现需要登录才能访问:http://localhost:9301
使用到的模块
1 | ZBCN-SERVER |
2 | ├── zbcn-apm/admin-server -- admin监控中心服务 |
3 | ├── zbcn-apm/admin-security-server -- 带登录认证的admin监控中心服务 |
4 | ├── zbcn-apm/admin-client -- admin 服务监控的测试客户端 |
5 | └── zbcn-register/eureka-server -- 注册中心 |